|
|
BotEyes-Mini Telepresence robot camera connecting to WiFi in iOS case
BotEyes-Mini can use any Wi-Fi camera if its mounting holes allow doing this and if it can be connected to 5V 1A power supply using USB-micro connector.
Be sure your gadget has been connected to WiFi net.
Download and install CamHi application from App Store.
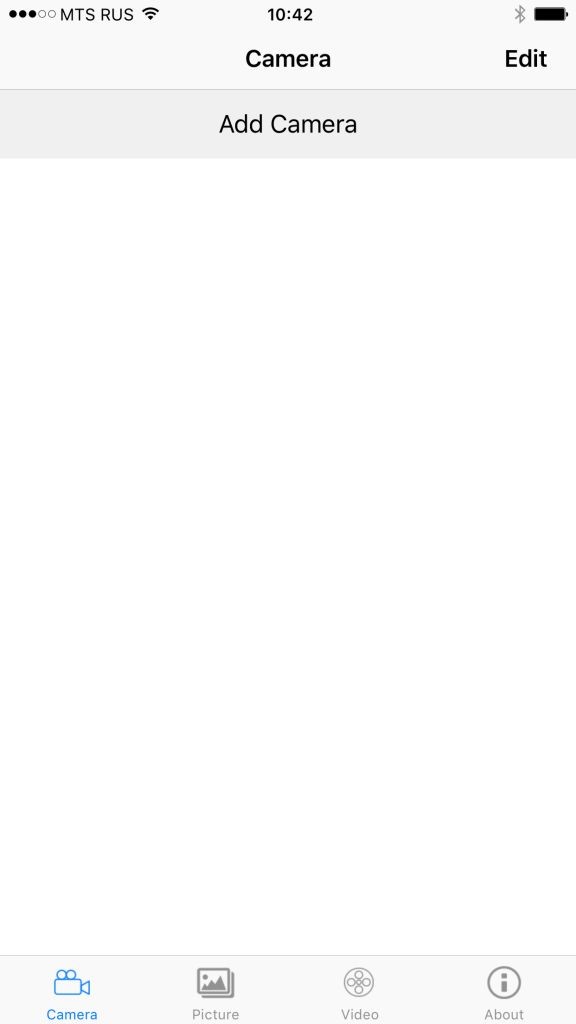
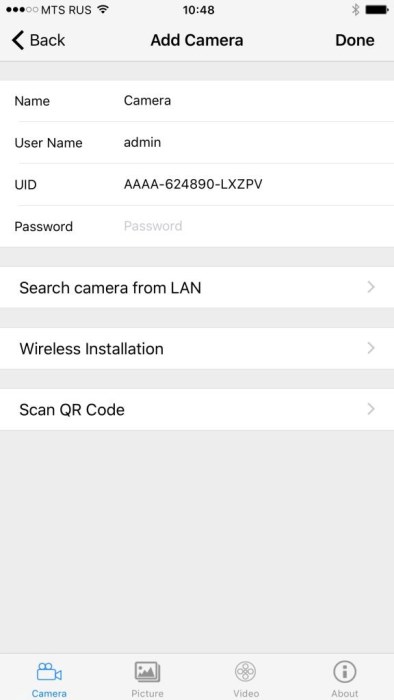
Open CamHi application and press the button "Add Camera" in window named "Camera" (see below). In the appeared window (second picture below) input the camera name (in our case it is "Camera"), User Name (admin) and Password (admin). User name and password cannot be another in this stage, but you need to replace it for your own in future steps.
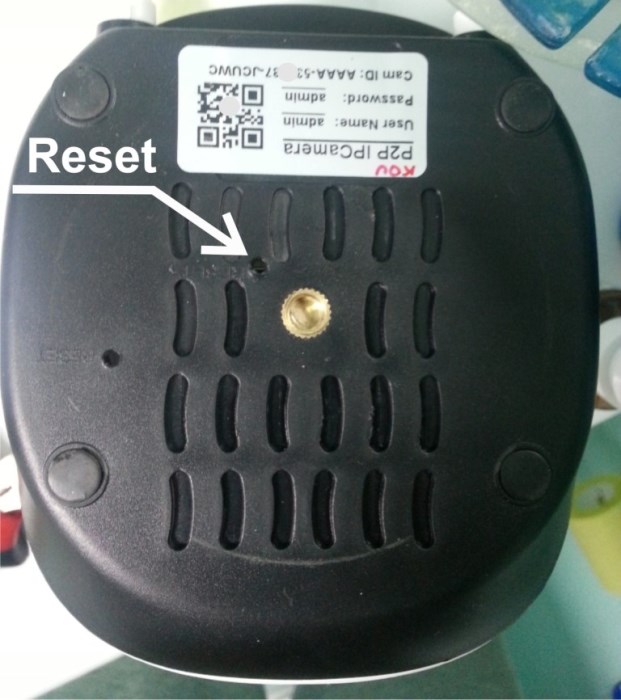
To input UID, press "Scan QR Code" (see second picture above) and forward your iPAD camera to QR code in the Wi-Fi camera case (see third picture above). Read code will appear automatically in string "UID". You can also input UID manually, it is written on the camera case.
Press the "Wireless Installation" button. It is appeared the window like in first picture below. Input your WiFi net password here and press "Setup". There will be opened window (see second figure below). Don't press the button "Yes", or "No".

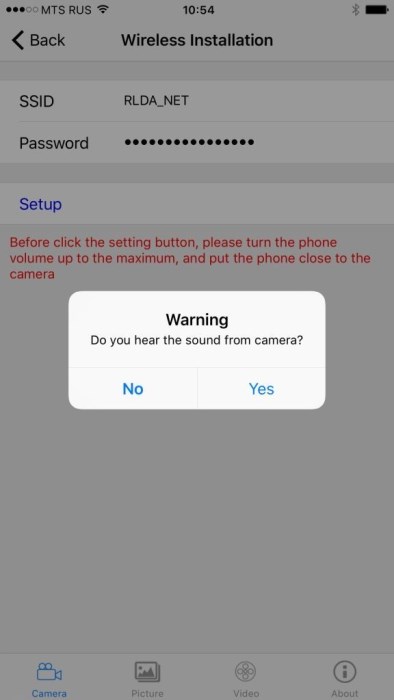
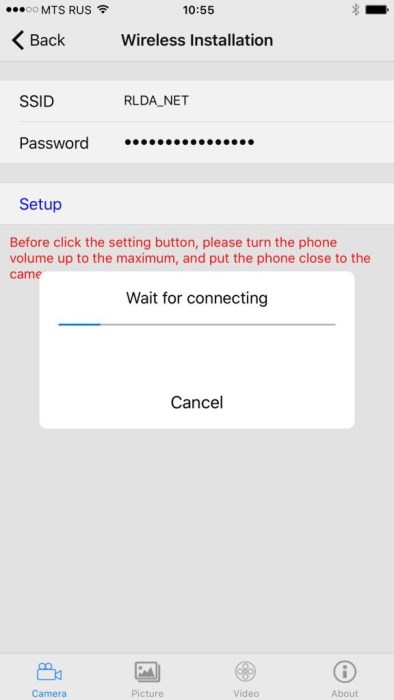
Turn the camera power on. After 30...60 second camera begins calibration process. It will turn top-down, left-right and then freeze, after that you can hear periodic sounds of a bell. After you will hear these sounds, press "Yes" in second picture above. Make the maximum speaker volume and place it in distance 20...50 cm from camera.
If you don't hear periodic sound, press the "Reset" button in bottom of your camera. Reset button placed deep in bottom of the camera. To press it you can use non-metal toll like toothpick. You need keep the button pressed about 5...10 sec until you hear a solemn melody. This melody means that camera starts the reboot process and calibration. About 1-2 min later the camera starts to sound periodically and you can press "Yes".
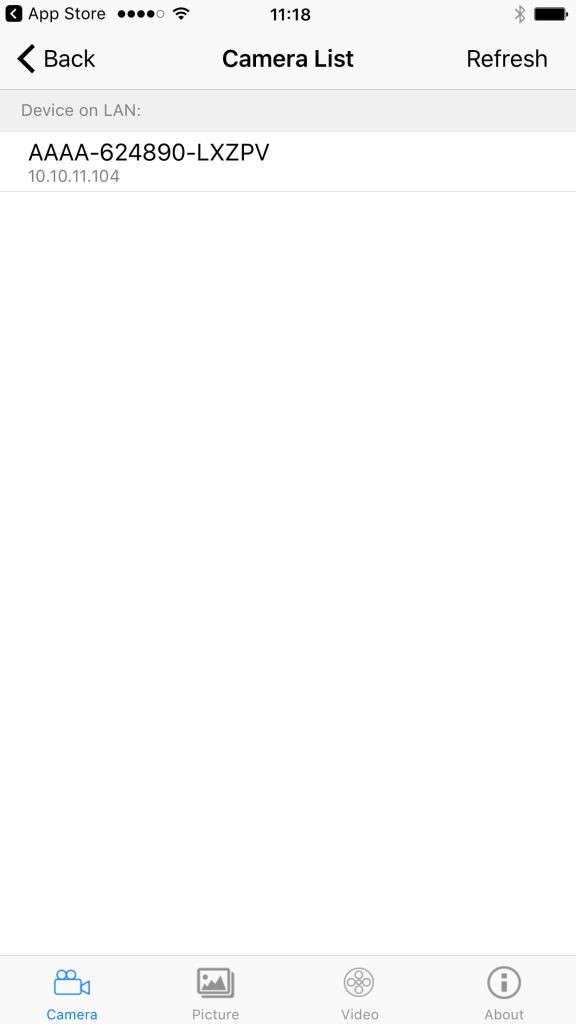
The camera starts to look for the net connection (see last picture above). If the connection is established you will hear the solemn sound. Wait for the end of search process and you will see the window like in figure below. Here you need to press the string containing camera ID, after that you will see window, where you need to press the "back" button in left top and there will be appeared window like second figure below. To view the camera video it is enough to press the string with camera name.
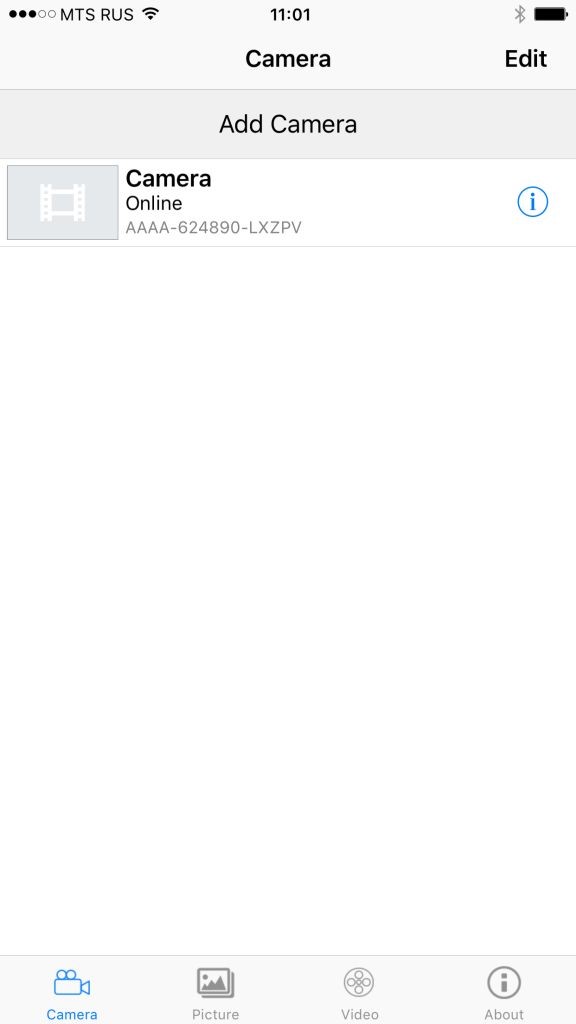
If you see the message "Device not found", do not pay attention to it and press the "back" button in left top of window and after you will see the next page, press the button "done". Camera will appear in the next page, like middle picture above. If you don't see camera again, do everything again, as described above.
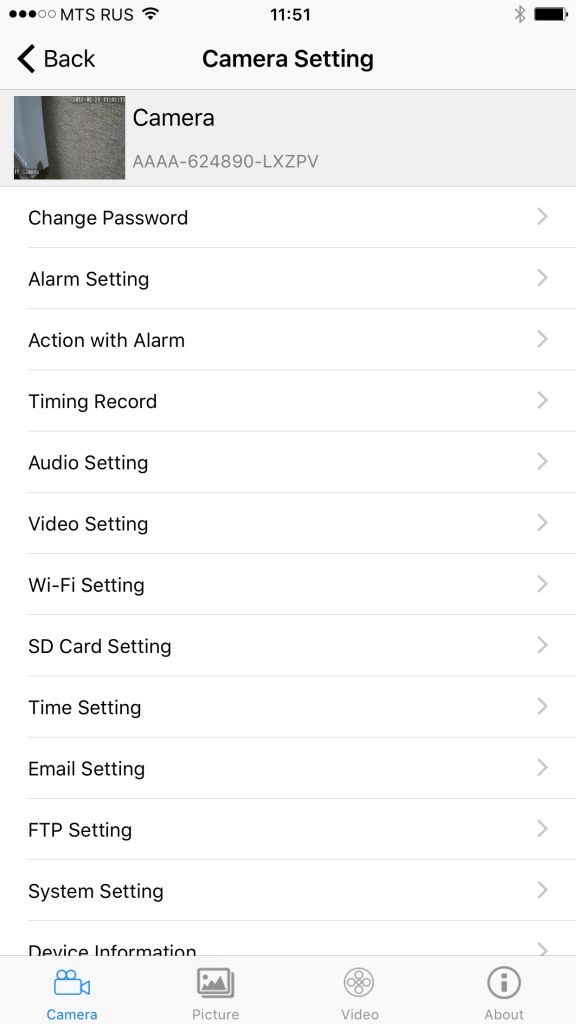
To change the password you need to press the icon "i" in middle picture above and in the next window (see last picture above) press "Change Password". In the next window (see below) input old password (Old Password) "admin", then "New Password" and confirm it in field "Confirm Password". Press the button "Done". It guarantees that no one can have access to your camera.
If you want to delete camera, move to left the string with camera name and press "Delete" (see second picture above).
To connect another smart phone to camera that has been connected to WiFi, it is enough to input its UID, UserName, password and press "done" in this window.
CamHi is well-known application, so you can find a lot of YouTube videos about it, using keywords "camhi setup".
BotEyes-Mini Telepresence robot is best fitted for using with desktop computer, because it uses two application: CamHi (HiP2P) and web browser on the same screen. But you can use it on tablet or smartphone too if you will use Split Screen mode, as it was described in page about using Skype